
Packing tape image transfers
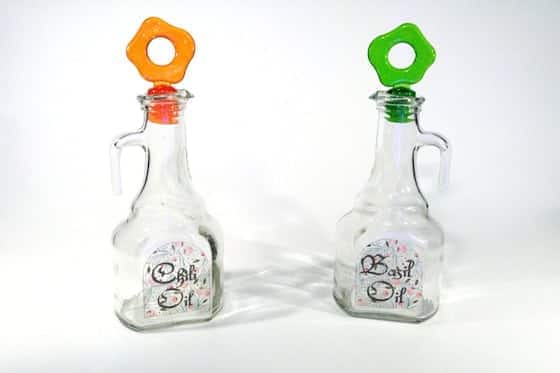
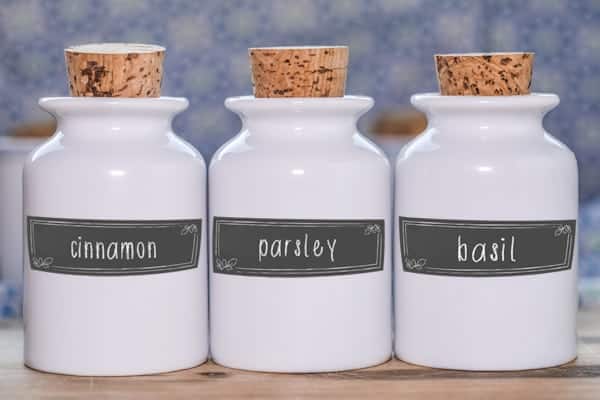
Here is a quick and easy DIY project for creating clear stickers or labels, using your own images and some packing tape. The process is simple and you can decorate a wide variety of objects with your own custom stickers. Label storage jars for your kitchen, add designs to plain vases, votive candle holders or mugs, even customize a night light cover like the example below. The possibilities are as vast as your imagination, and offer some great gift ideas for the holidays or special events like weddings, anniversaries and more.


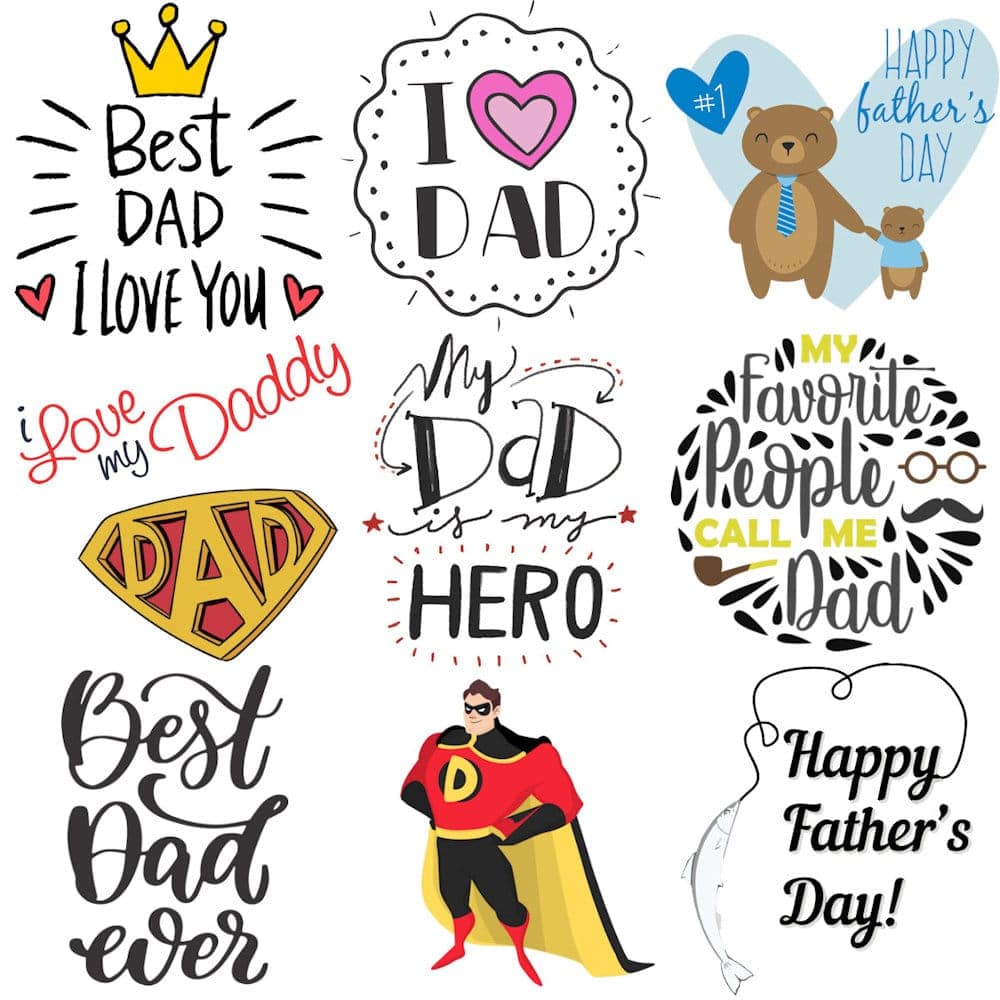
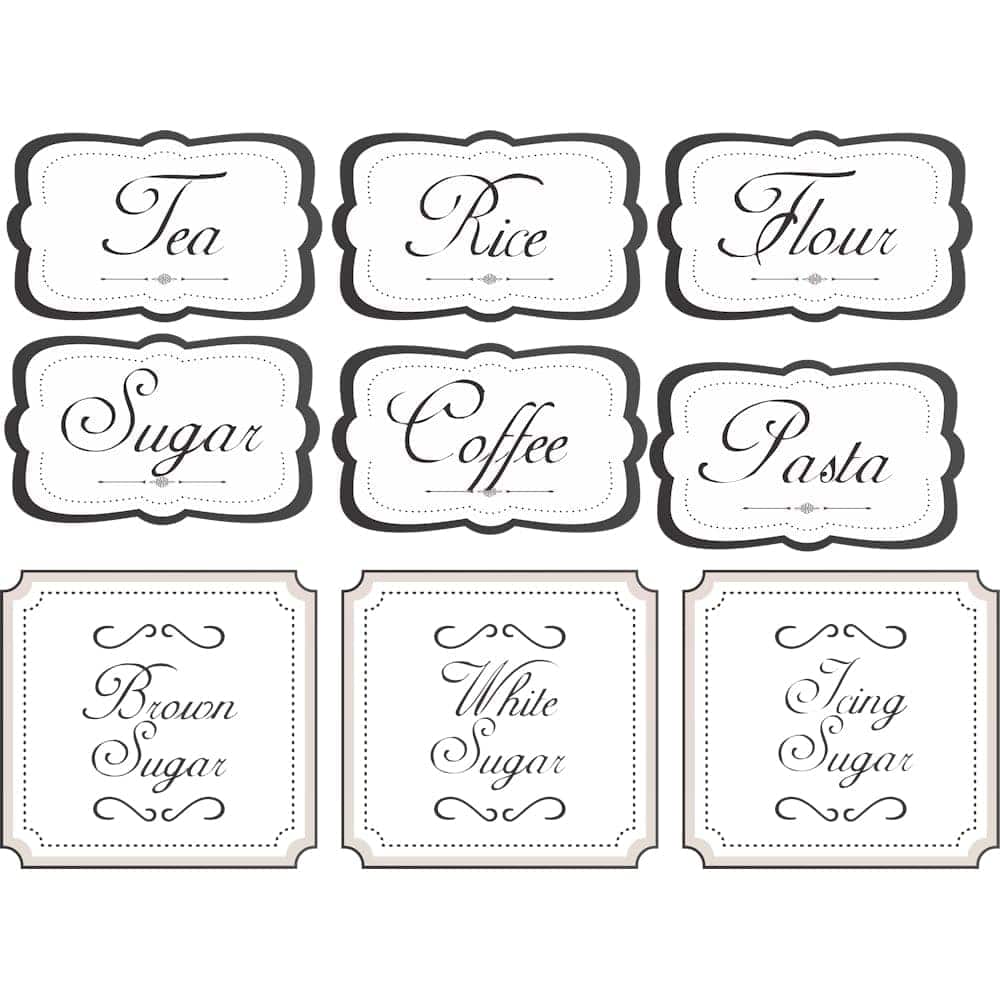
Here are some FREE sticker packs to get you started!
Holiday Stickers

Fun Quotes

Mother’s Day Stickers

Father’s Day Stickers
Pantry Labels
Autumn Stickers

How to transfer an image onto packing tape in 6 easy steps
There are 6 basic steps to this project. Watch the video to see how it’s done and follow along with the detailed instructions below.
You will need the following materials for this project:
- Your photo, image, design or text
- Packing tape (heavy duty is best)
- PaintShop Pro or another photo editing program
- Scissors or exacto knife if you want to trim your photo
- A cloth, a spoon or something to burnish the image
- Bowl of warm water
- Measure the width of the packing tape
- Resize or crop your photo so it will fit on the packing tape
- You can also enhance your image with a variety of effects (check out our video tutorials below to see how to convert to your image to black and white, or use a script to add a cool effect)
- If you want to use an image that is larger than the packing tape, you can print it on multiple stickers but you will need to be very precise when lining them up on your object
- Print your image on a laser printer (this process works better with laser printed or photocopied images, than with ink jet printed images)
- Carefully apply the packing tape over your image, making sure there are no bubbles or wrinkles
- You can tape your paper to your table or workspace, to keep it in place while you are applying the packing tape
- Once the packing tape is smoothly in place, rub it firmly with a cloth or spoon or other burnishing tool – the more pressure you apply, the better the final result will be
- Trim off any excess paper and tape around your image
- Immerse your taped image in warm water for at least 5 minutes
- The longer you let the image soak, the easier it will be to remove the paper
- Start rubbing the paper off the back of the image
- If some of the paper remains, put the taped image back in the water to soak some more
- Continue alternately soaking and rubbing off the paper until all the paper is gone
- Lay your image, sticky side up, on a flat surface and let it dry completely
- Once the sticker has dried, you will find that the stickiness has returned
- Now you just have to stick it on whatever object you are decorating, making sure to smooth it out nicely
- If you have made a bunch of stickers and aren’t going to use them all right away, you can put them on a sheet of wax paper to use another time
How to edit photos and images
Before you go to transfer your photo or image onto the packing tape, make sure it is looking it’s best! These tutorials will show you how to crop your photo to the correct size, how to work with text, and how to add some effects.

How to add text to your photos
This project works not only with photos, but also with any artwork image or text. Learn how to add a message or quote to your image.
Cropping and resizing your photo
This tutorial will show you how you can crop your photo to remove any unwanted parts and make it the right size to fit your project.
Removing objects from photos
Whether you need to touch up some blemishes, remove an unwanted object or erase a scratch in an older photo, PaintShop Pro has the tools you need – see them in action!

Comments (2)
Reader Interactions
Comments
Is this a joke as I can’t find or get the tape to put the stickers on at all in Australia.
Try the post office. Sometimes they have packing supplies.